This post is about the journey and the lessons I learned. If you're looking for a detailed tutorial that walks through every step of signing and notarizing an Electron app on macOS, read my Electron macOS Signing & Notarization Guide.
I recently decided it was finally time to properly sign and notarize my Electron apps for macOS. Until now they were unsigned, which meant every new user had to right click the app, choose Open, confirm a warning dialog, and generally jump through a bunch of hoops before they could even launch it.
It worked, but it wasn't a great first impression. I already had an Apple Developer account for my iOS apps, so I figured this would probably take an hour or two.
It did not.
There Are More Moving Parts Than You Expect
Unlike Windows where you can simply buy a code signing certificate, Apple's process has several separate pieces that all have to fit together.
First you create a Developer ID Application certificate. Then you generate a Certificate Signing Request from Keychain Access. Apple signs that request and gives you a certificate back. You install it into your login keychain where it gets paired with the private key that was generated on your Mac.
That certificate is what actually signs your application.
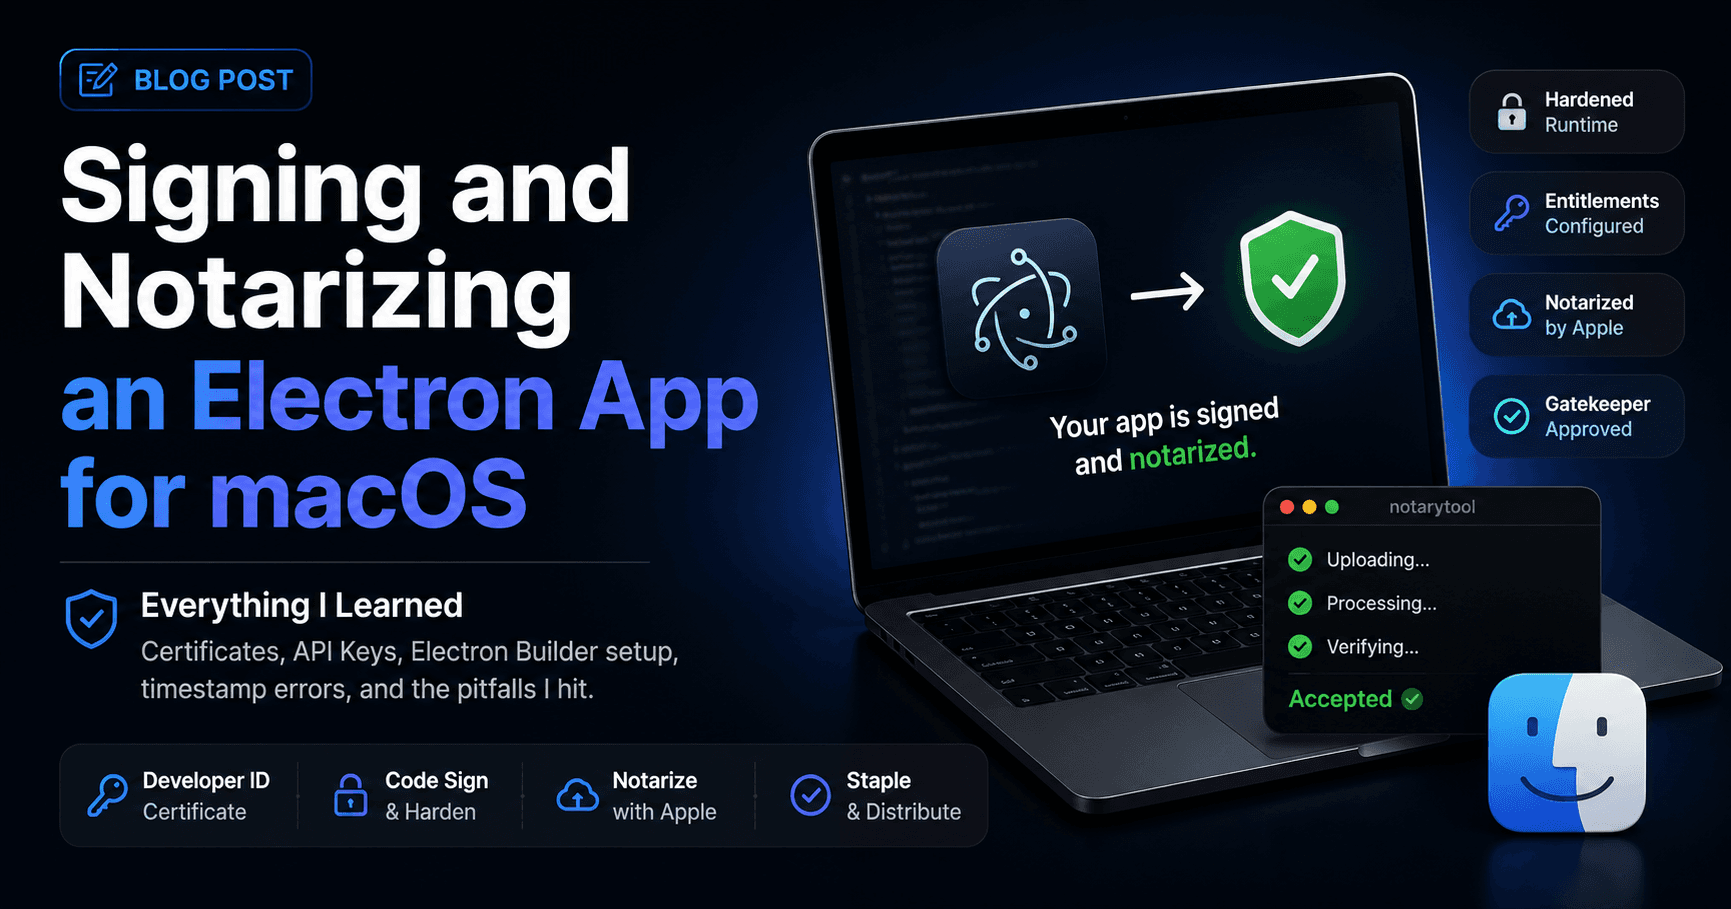
Then there is notarization, which is a completely separate process. Signing proves who built the app. Notarization uploads the app to Apple so they can scan it and approve it.
The API Key Confused Me
I assumed the certificate would be enough. It isn't.
Electron Builder uses Apple's notary service, which authenticates using an App Store Connect API key. So you also need to generate a Team API key inside App Store Connect, download the .p8 file, grab the Key ID, and copy the Issuer ID.
Those three values become environment variables that Electron Builder uses whenever it uploads a build for notarization.
The Electron Builder Configuration Was Surprisingly Small
Once all the Apple setup was finished, the project changes themselves were tiny.
I added an entitlements file, enabled the hardened runtime, pointed Electron Builder at the entitlements file, and turned notarization on. That was basically it.
The rest of the work happened outside the project in certificates, API keys, and the macOS keychain.
The Timestamp Rabbit Hole
This is the part that nearly drove me insane.
Electron Builder kept failing during signing with errors like "The timestamp service is not available" and later "A timestamp was expected but was not found."
At first I assumed I had configured something incorrectly. I recreated certificates, verified my keychain, upgraded Electron Builder, checked entitlements, checked API keys, even manually ran codesign from the terminal.
Everything looked correct.
The really strange part was that every build failed on a different file. Sometimes it was one locale file. Sometimes it was another. That was the clue that the files themselves were never the problem.
After several hours of debugging I switched from my home Wi-Fi to my phone's hotspot.
The build completed on the very first try.
Somehow my original connection was preventing Apple's timestamp service from working reliably. Nothing in the project was actually broken.
Watching Notarization
One thing that confused me was that Electron Builder appeared to freeze after signing the application.
It turns out it wasn't frozen at all.
It had launched Apple's notarytool utility, uploaded the ZIP to Apple, and was simply waiting for Apple's servers to finish scanning the app. There is almost no progress output, so it looks like nothing is happening.
Opening Activity Monitor and seeing notarytool happily transferring data was oddly reassuring.
What Actually Changed In My Project?
Much less than I expected.
I added one entitlements file, updated the macOS section of package.json, and that was essentially all the project needed. The certificates, API keys, environment variables, and keychain setup are all one-time tasks that every future Electron app can reuse.
My next Electron project will probably take five minutes to configure instead of an entire afternoon.
Things I Wish Someone Had Told Me
Signing and notarization are different things.
The App Store Connect API key has nothing to do with your signing certificate, but you need both.
If signing randomly fails on different files every build, look at your network before tearing apart your project.
And finally, once you get everything working, back up your Developer ID certificate and your API key. Future you will be very grateful.
Was It Worth It?
Absolutely.
Users can now download my apps, drag them into Applications, double click them, and they just open. No scary Gatekeeper dialogs. No right clicking. No explaining security warnings in the README.
It took much longer than I expected, but now that everything is set up, every Electron app I build in the future gets signed and notarized using the exact same workflow. The hard part only has to be done once.
Hopefully this post saves you a few hours of debugging. I certainly wish I'd had something like this when I started.
If you're still stuck or run into an issue that this post doesn't cover, feel free to reach out. I'm always happy to help a fellow developer if I can.